
How to get the most out of your practice. Useful music practice tips for pedal steel or other instruments…
Balancing Technique, Scales, and Songs
Crystallizing Intonation with Drones
Tapping Your Foot (Toes) To Keep Rhythm
PRACTICE RIGS & TOOLS
If you are going to spend a good amount of time practicing, and want to get the most out of it, then having a well-organized practice rig will benefit you. This includes having the necessary tools for your practice session nearby, and being able to easily grab/use them while at your steel.
Let’s say you’ve spent 15 minutes practicing that diminished riff that you heard a jazz cat play last night, and you’ve finally got it down. You are focused, it feels good to finally nail it, and you want to try it at a faster tempo, with a drone track behind it. If you can play your drone, and fire up the metronome, within seconds of deciding to use them, then you can keep your focus and nail that lick up tempo. However, if you spend the next 10 minutes looking for your metronome, or hooking up your speakers, or checking your email, then you will lose this important moment in your practice session. You will have lost the one moment you truly felt you could nail that lick. It may take another day, or hours, or weeks, before you feel that focused/confident again at your instrument. So do yourself a favor, keep the right tools at your disposal when practicing, and make the most of it!
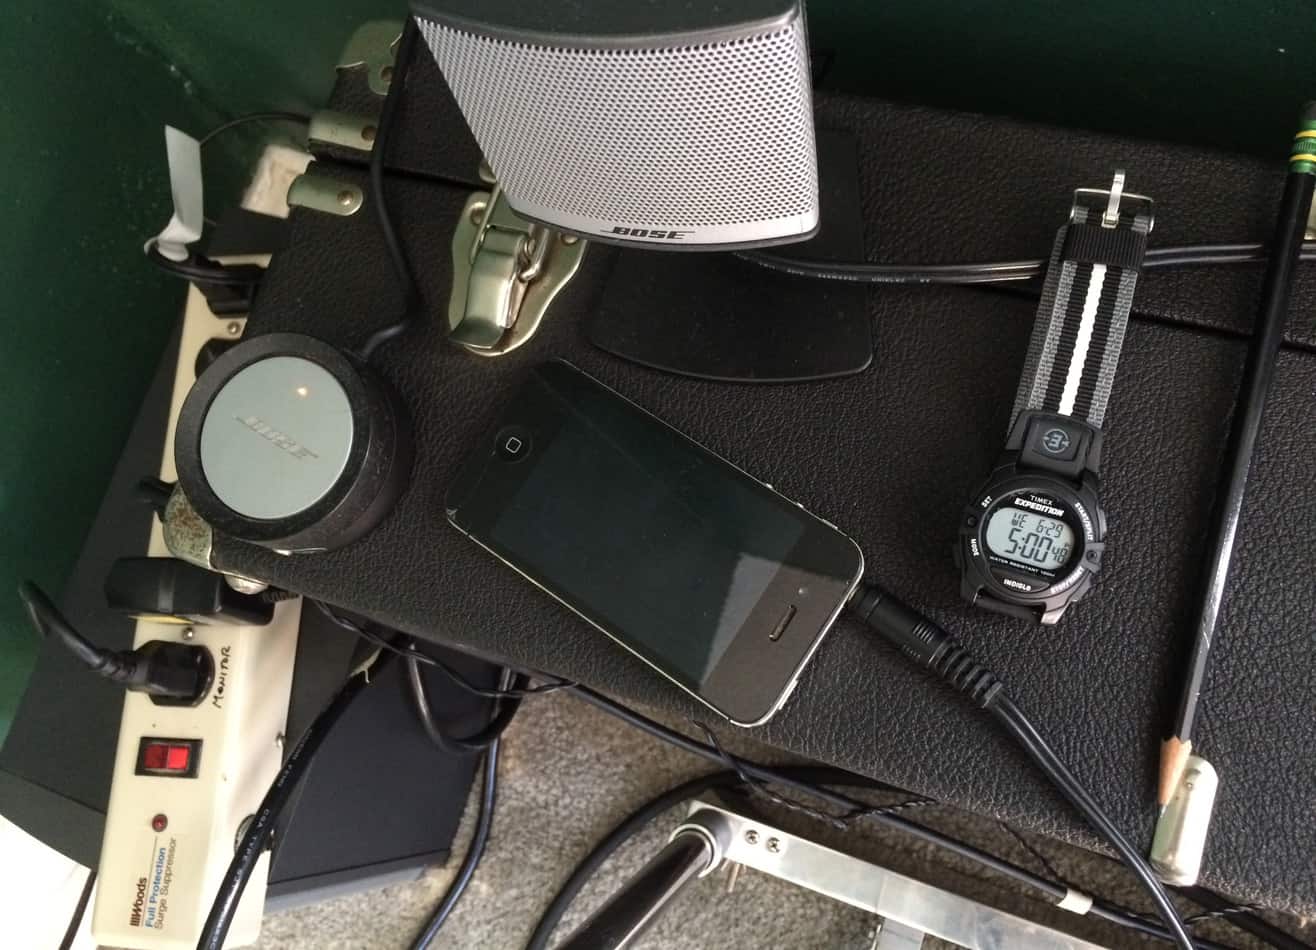
Important practice tools: metronome, speakers or playback system, pencil, blank tablature paper, a clock/timer, tuner, headphones, a power outlet, and whatever else may be necessary.
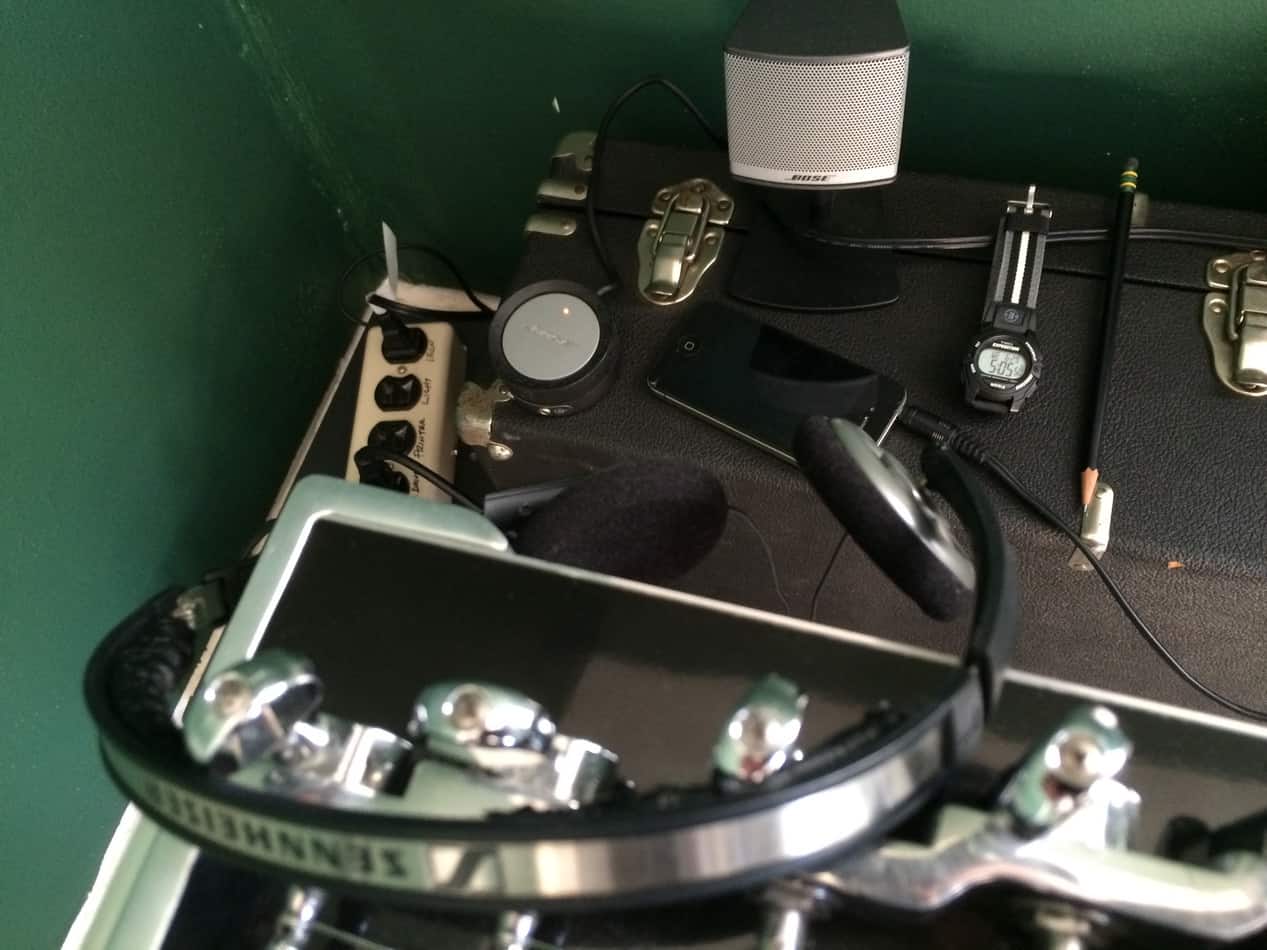
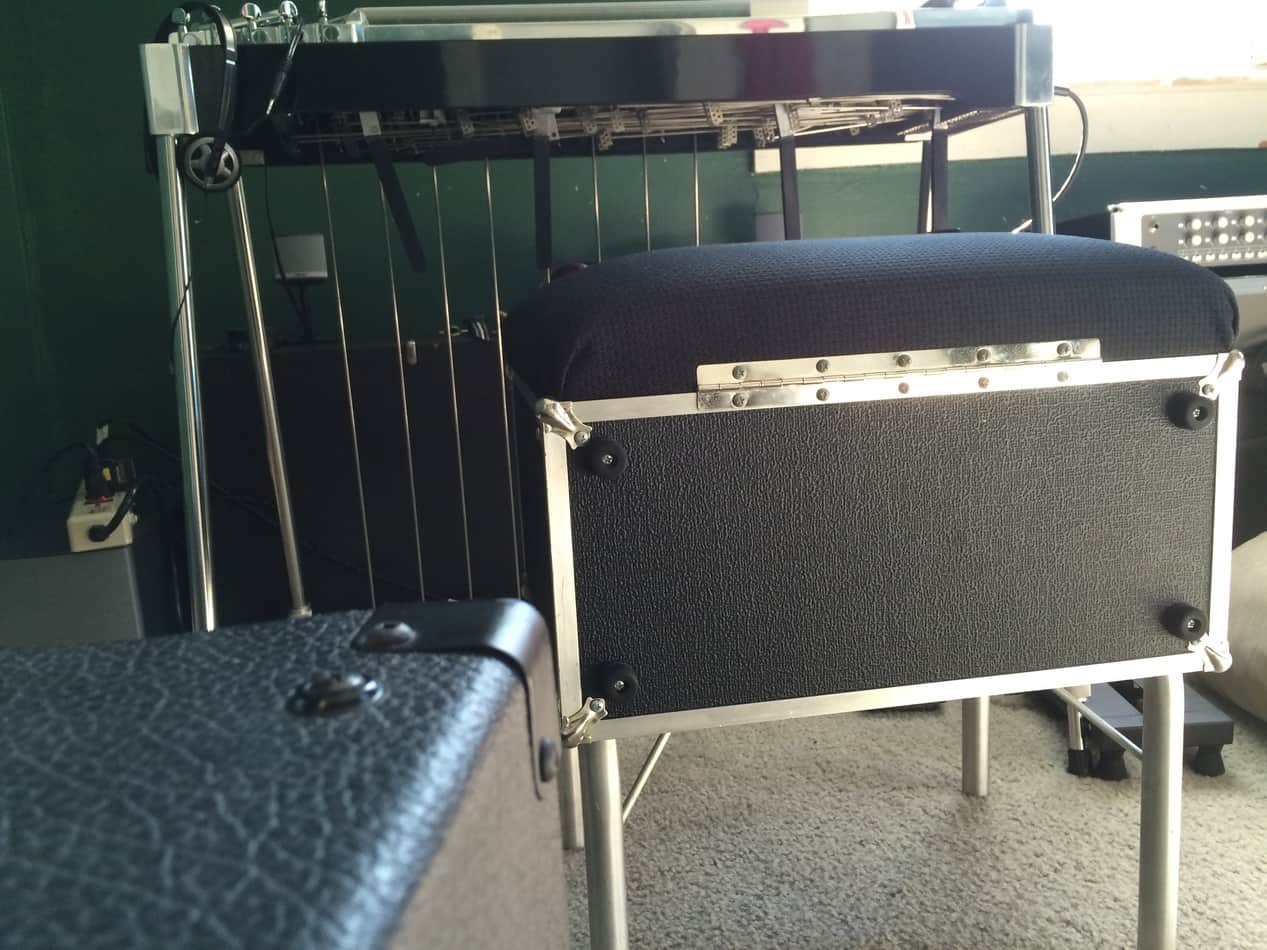
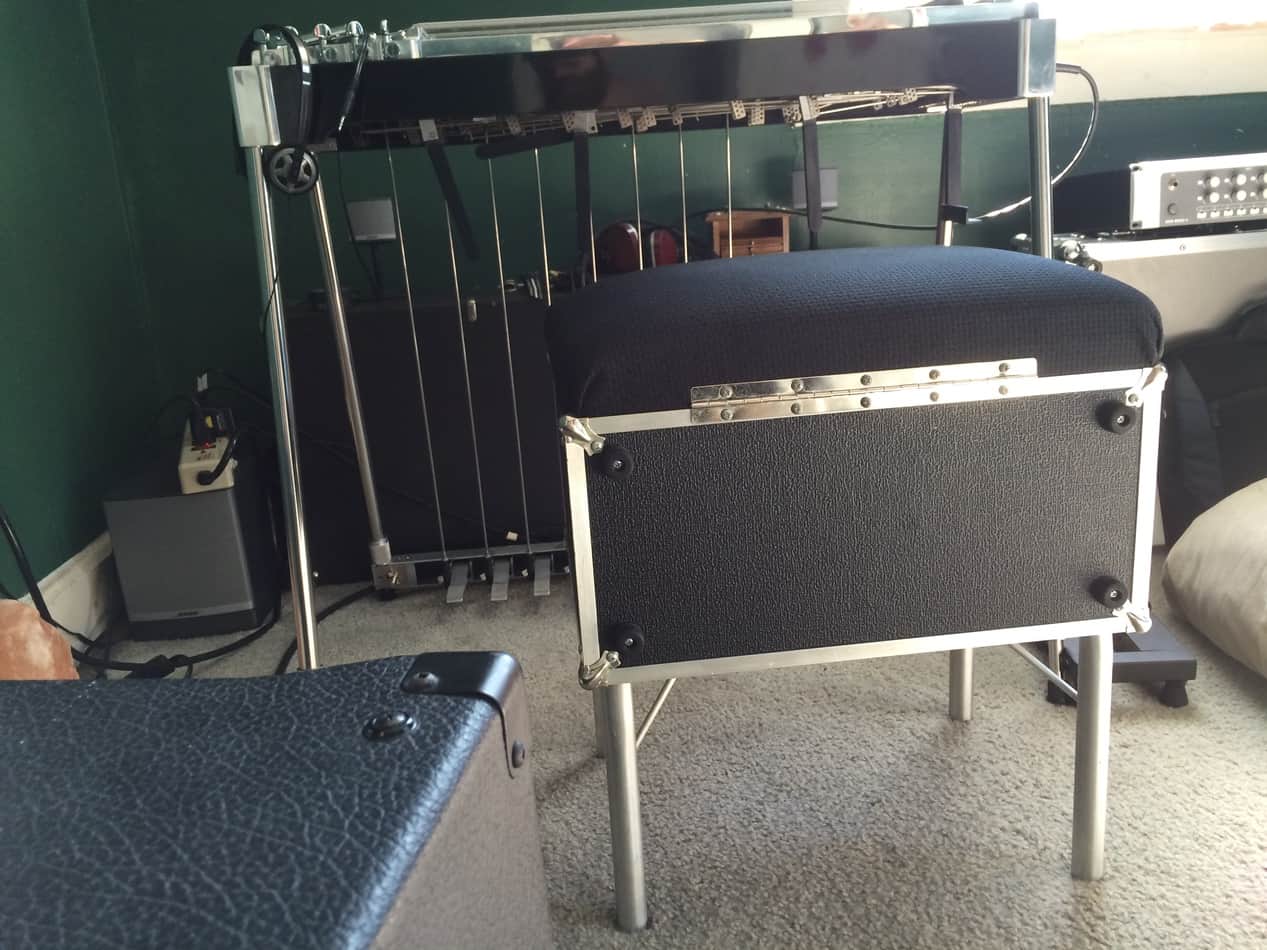
Above is a player’s view from the left-side of the steel. You’ll notice that with my left-arm, while comfortably seated at my playing position, I can reach/use the following at any point in my practice session: my headphones, tuner, iPod and speakers, headphones, pencil, and extra outlets from power surge protector.
Here’s a closer view of the front left-side of my practice rig…
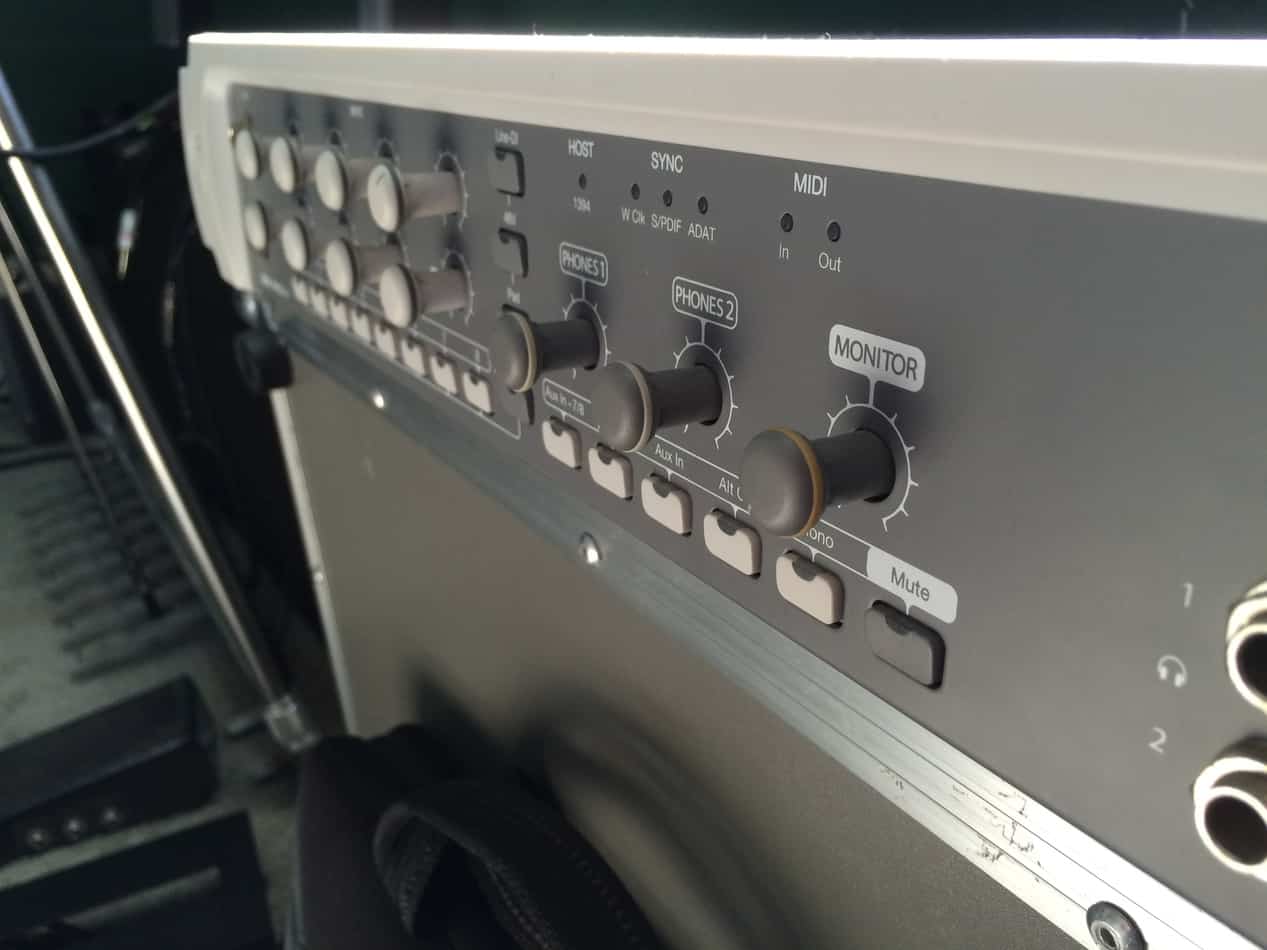
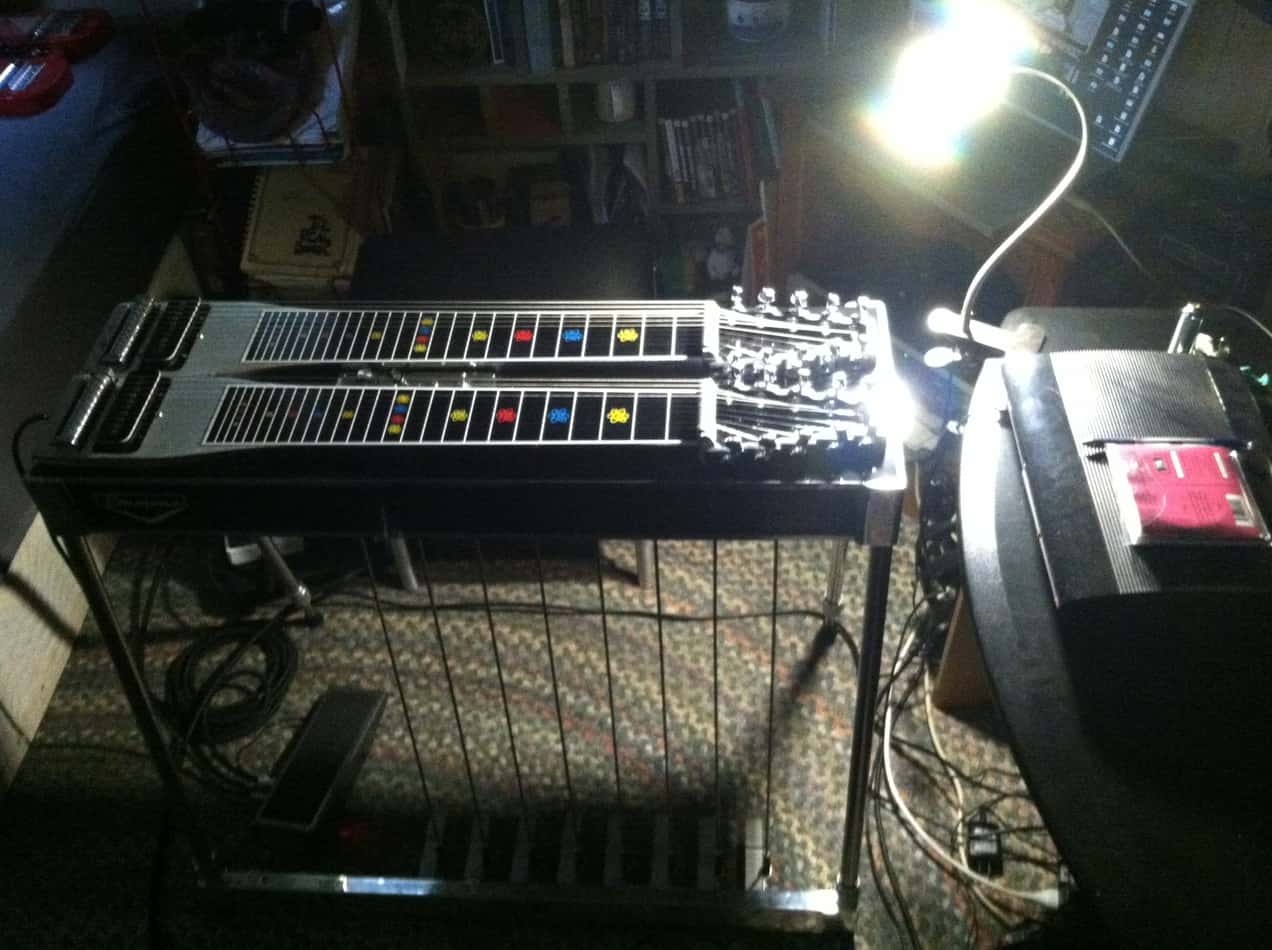
Below is a player’s view of the right side of my practice rig. This side includes less, as I have a harder time utilizing tools when picks are on my fingers. You’ll notice my tuner/pedalboard, and I have room for other things. Sometimes I will utilize my recording console on this side, or my laptop, or iPad.
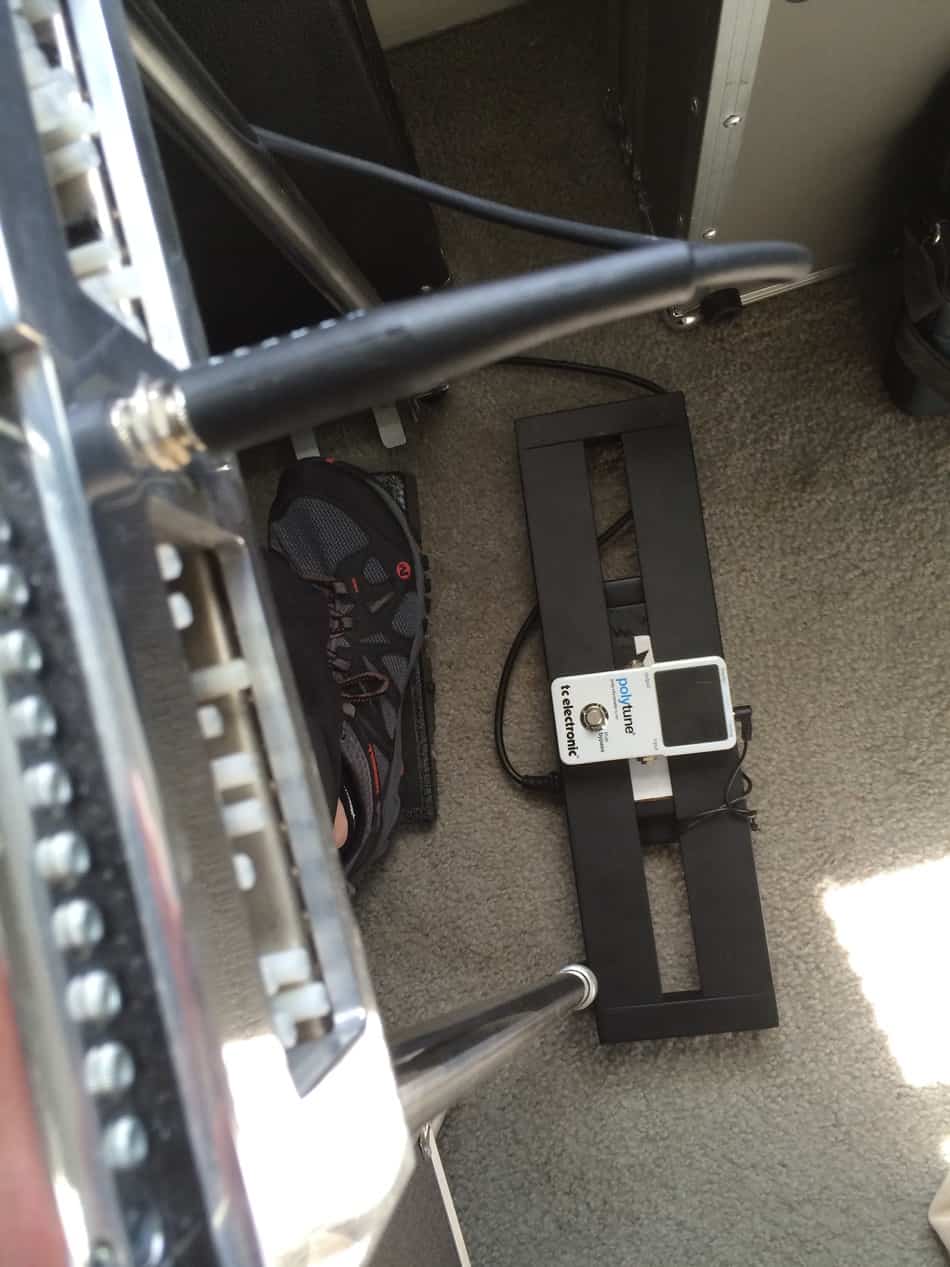
Here, one can see my recording console is positioned by back right leg of pedal steel, so I can access this and my computer with my right arm.
It’s also a good idea to get an LED desk lamp. Good light can help with bar control practice when aiming for visual targets (fret markers).
USING A METRONOME
The best way to get a good sense of timing, is to practice most of the time with a metronome. It is usually more beneficial and worthwhile practicing at a slower tempo. This will help your muscle memory be more defined, precise, and accurate, and you will be “crystallizing” your good habits, instead of mistakes (you are less likely to make mistakes when going slow than fast).
I use free metronome apps on my phone, since they’re free and handy all the time. Some of them have harsh tones, so I recommend finding one with a beat tone that you won’t get sick of after practicing with for a long time. If it’s annoying sounding, you won’t want to practice with it, and your ears will get fatigued. Practicing always with a metronome will help you deal with a click track when you get into the studio too! And your drummer will respect you on a more subconscious level!
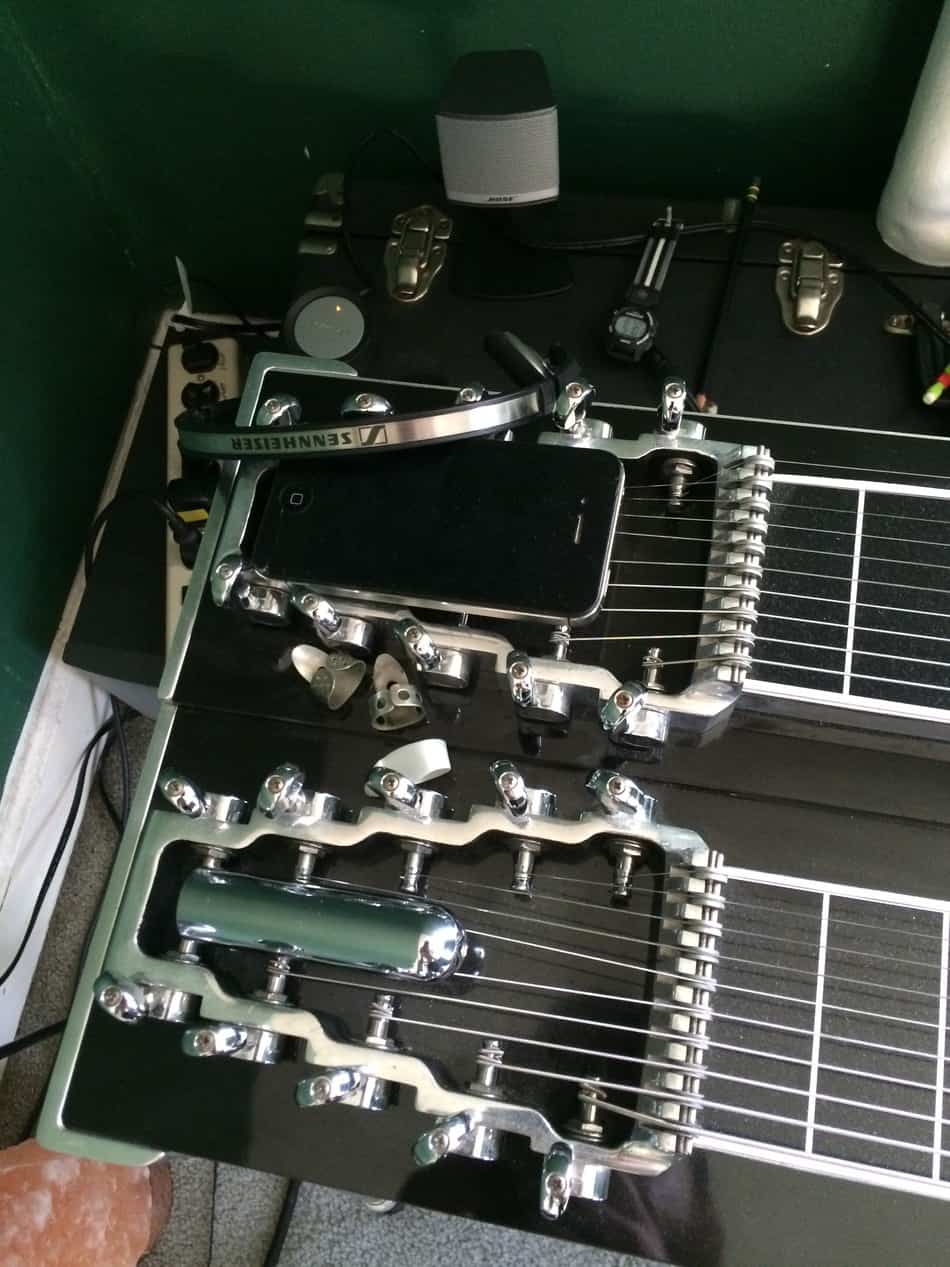
Look at how much room our headstocks have to hold practice items! Here I can easily fit my bar, metronome, headphones, picks, etc.
PRACTICING IN TIMED INTERVALS
After years of practicing, learning other musicians’ practice methods, studying meditation/focus methods, and staying up to date with neuroscience, I never recommend practicing for more than 15-30 minutes at a time. After this, our minds lose focus, our bodies get tired, and we start practicing more sloppily and crystallize mistakes. How long can we truly focus our full attention on something? Most people can’t focus deeply for more than a few minutes at a time. However, like most things, with practice we can learn to deepen and increase our focus.
If you step up to your pedal steel each time with a deep focus, utilize this focus during your session, and stop practicing when you begin to lose it, your practice efficiency at the instrument will grow. Practice smart, not hard! I benefit much more from a great 15 minute practice session, where my goals are set before I begin, than a 2 hour session of floundering. Trust me on this. For instance, if I know I’m gonna practice four hours one day, then I will split my practice time into 16 15-minute separate sessions.
Your body and mind will thank you if you train in intervals. You also have extra time in the day to work on aural exercises, ear training, listening, or other daily activities that will benefit you as a musician. You can knock some of these things out during your practice breaks if you want. Also, your technique, posture, and mental dexterity will likely improve too.
-BALANCING TECHNIQUE, SCALES, & SONGS DURING PRACTICE
What to practice? Well, there are a lot of variables that can go into this: music genre/type, upcoming gigs, transcribing, goals, etc.
Let’ s say we’ve got the whole day or week ahead of us, and we have a lot of time to woodshed on pedal steel. Let’s make the most of it. A lot of great jazz improvisers, and great musicians, recommend treating your practice day as three-fold:
Spend the first-third of time on: technique. (picking exercises, bar control, bar slides, pedal control, different grips, volume pedal use, etc.)
Spend the second-third of time on: scales. (Modes, patterns, runs, exercises, etc.)
Spend the third-third of time on: songs. (Upcoming gigs, Emmons tunes, jazz chord-melodies, classic/traditional country tunes, etc.)
This should ensure you’re working on the multiple disciplines necessary to become a better musician and steel player. Plus, by the time you’ve knocked out technique and scales, you feel very warmed-up and ready to tackle those tunes (which are usually more fun to practice anyways –save the best for last!)
CRYSTALLIZING YOUR INTONATION WITH DRONES
A great guitar player friend once told me how he practiced with drones, or a continuously sounding note. He said it would make a world of difference for your ears, specifically when practicing scale tones. He learned of the idea through Indian classical music, as he was listening to a lot of Ali Akbar Kahn at the time. He didn’t have to worry about intonation as much, as his guitar has frets, but he still knew the benefits of it for “crystallizing” your ear and intonation.
I immediately tried it my next practice, and years later, continue to use it for most practice sessions. It has helped my intonation on pedal steel immensely; steel players, we have less room for error when hitting our “marks,” as we only have fret markers, not actual physical frets. I hardly question my intonation anymore, because after using drones for so long, it has almost become a part of my muscle/ear memory. This is a relief, as I used to question it often.
You can find drones online, or on some music streaming services. Put the track on loop mode, and do yourself a favor, find one that sounds decent in timbre. A repeating sine wave, or drones that sound like this, can get old quickly for your ears.
Honestly, practicing your scales with drones, is just more fun.
Notice how peaceful and content this grasshopper is… because its intonation with the plant it’s resting on is nearly perfect. It is naturally “in tune” with its surroundings, just as you can be with your surroundings (bandmates, iPod, yourself, the Universe, etc.), if you practice with drones long enough.
Here’s how I use them mostly:
-Take the scale you are practicing, for instance C Mixolydian scale (C D E F G A Bb C). Mentally make note of the scale tones according to their numerical relationship in the scale. 1(C) 2(D) 3(E) 4(F) 5(G) 6(A) b7(Bb).
-Run your scale in numerous patterns against the drone, which will be the root or C. For instance, work on this run 1,2,3,4,5 then 5,4,3,2,1 (scale tones) and you have successfully heard the first five tones of scale, their relationship to the tonic, and even more important their relationship to each other. Now, when you play any Mixolydian scale, in any key, you know that scale’s tonality in relationship to its parent chord, and the intervals of scale in relation to each other.
-This makes practicing scales not only more intuitive, and effective, but also more exciting. How often do we actually play scales in music, when there is no chord or music behind them?
-The scale degree numbers you begin to memorize naturally, and they eventually become useful when soloing over a vamp, or more derivative based playing. It will eventually help you learn all modes, and any scale, as the scale degree numbers start to sink in – you begin to think of scales as not only letters, but rather numbers too. The number approach will help with improvising greatly. A lot of Western world jazz improvisers started studying this numerical scale degree method, and using drones, to help their improvising in a more derivative way, or over a vamp (think jamming on Miles Davis’ “So What”), as opposed to a more parallel way (think modal changes on “Autumn Leaves”).
HOW TO TAP YOUR FOOT (TOES) TO KEEP TIME
Ever wonder why guitar players are always tapping their foot when playing/practicing? They may not realize it, but their foot is serving as a physical, muscle memory link to the rhythm/sound they hear in their head. Drummers have to literally do this for their kick and hi-hat pedals, guitarists are almost imitating this by playing an imaginary pedal to lock in their rhythm. This is a good thing, and undoubtedly can help in keeping time on and off the bandstand.
As pedal steel players, we can’t tap our feet though, since we’re using all our limbs for other things on the instrument! How can we learn this rhythmic trick on pedal steel? By tapping our toes (or big toe) on our right foot, in our right shoe, that is on the volume pedal! This is tricky because we still need to keep our volume pedal technique intact, as there should be no difference in volume swells or pedal use while tapping. If we tap our toes in our right feet along with the metronome while practicing, then over time our right foot’s toes will be as steady as a good drummer’s feet on their pedals. Also, anytime we’re away from the instrument (car, concerts, etc.), we can tap our toes along with the music, to solidify the muscle memory in our right foot. Then next time we’re at our pedal steels, our right toes have already been practicing keeping the beat, and we now have more time/energy to practice other disciplines.
Tapping your toes will help you on the bandstand, as you can keep time/pulse like a drummer does with the hi-hat, but you don’t need any additional support. Playing a gig without a drummer becomes easier too, if you are keeping time with your right foot’s toes. So will playing that chord-melody solo piece you’ve been working out on the C6 neck!