
Using the 1st string on E9 pedal steel can take a little extra focus at first.
Because of where the string sits—and the fact that the 3rd string is higher in pitch—playing it sequentially in runs often means moving between non-adjacent strings. A common motion looks like:
- 4th string → 1st string → 3rd string
That string-skipping can feel awkward early on, but once it becomes comfortable, it opens up a lot of useful musical options.
Building the Core Pattern
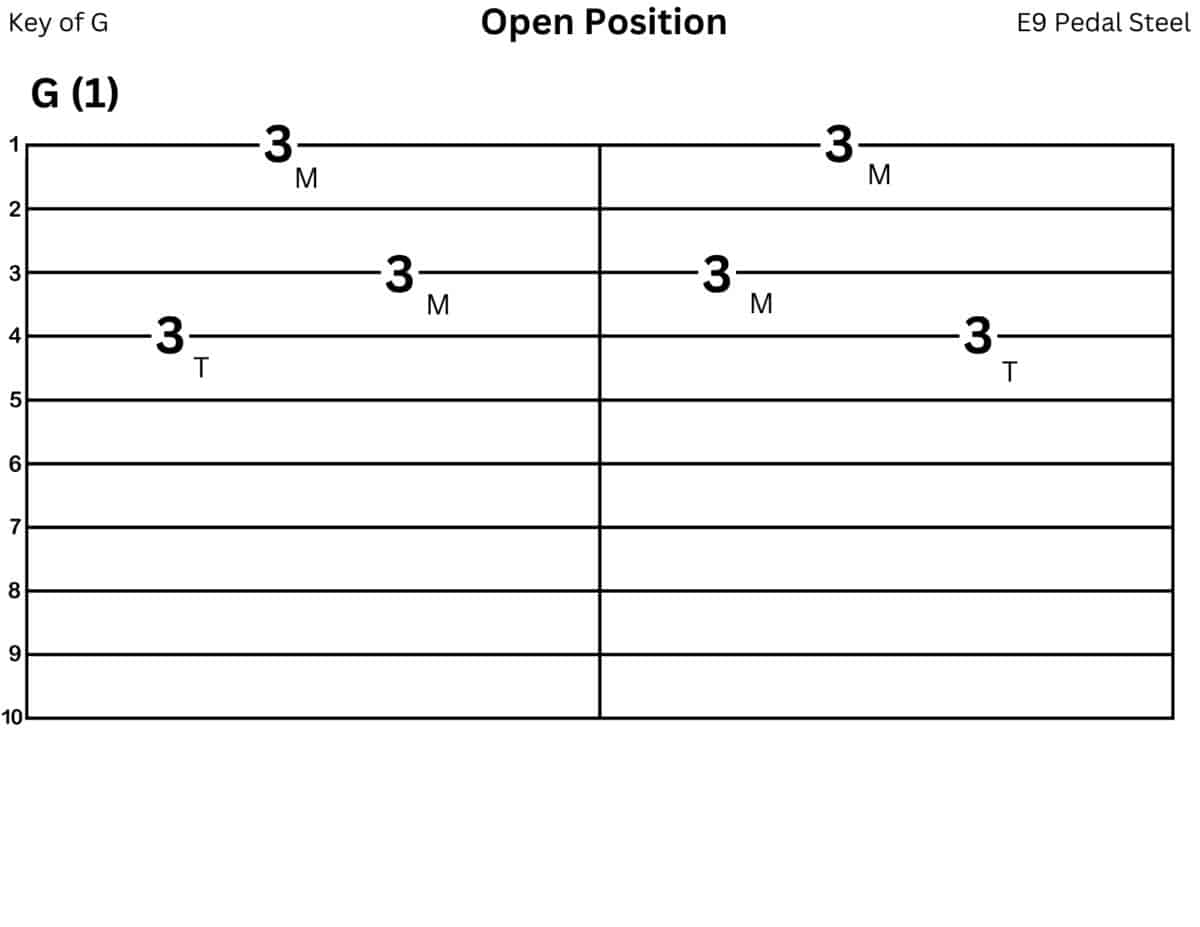
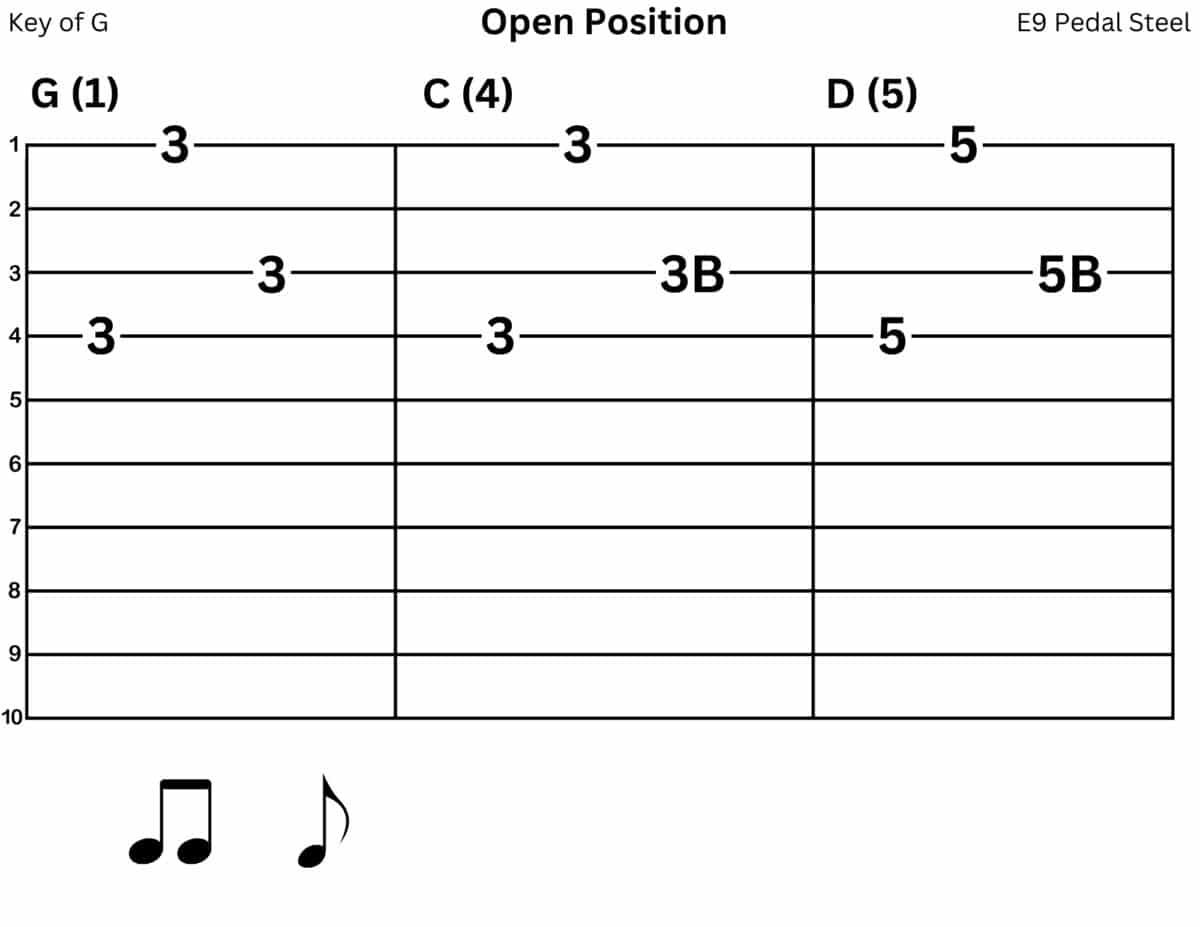
Here’s a simple pattern in the key of G using the first three notes of the major scale over a G (1) chord.

The first half ascends, and the second half descends.
Even though this pattern is simple, it’s one of the most useful ways to get comfortable with the 1st string. It’s worth spending time with it until you can play it:
- cleanly
- smoothly
- with accurate blocking
- and eventually at higher speeds
Right Hand Approach & Fingerings
To get this pattern working consistently, your right-hand approach matters.
Here are two common fingering options:
For these tabs:
- T = Thumb
- I = Index
- M = Middle
You may also come across other fingering variations:

Pick one approach that feels comfortable and stick with it for now. Building consistency with one fingering will help develop both muscle memory and blocking accuracy.
Practice slowly at first, then gradually increase speed as your control improves.
Developing consistency here makes a big difference over time. If you want a more structured way to build right-hand control, blocking, and coordination across the strings, that’s exactly what the right-hand instructional material is designed to walk through step-by-step.
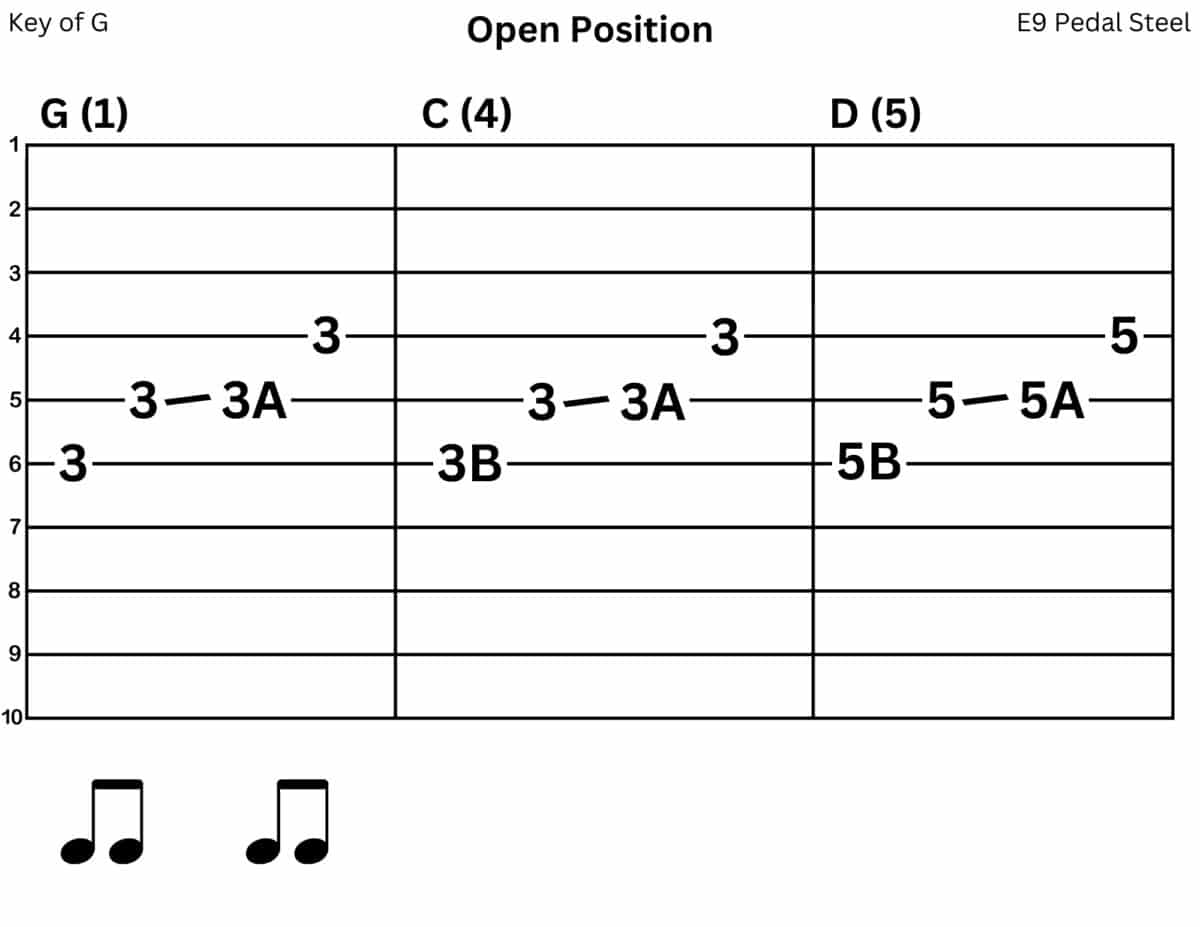
Applying the Pattern Over a Progression
Now let’s take that same idea and apply it musically.
Here are variations of the pattern over a 1–4–5 progression:

These are great for:
- short runs
- fills
- simple melodic ideas
As you practice them, try to land the notes on strings 4 and 3 on downbeats—these act as chord tones and help anchor the sound.
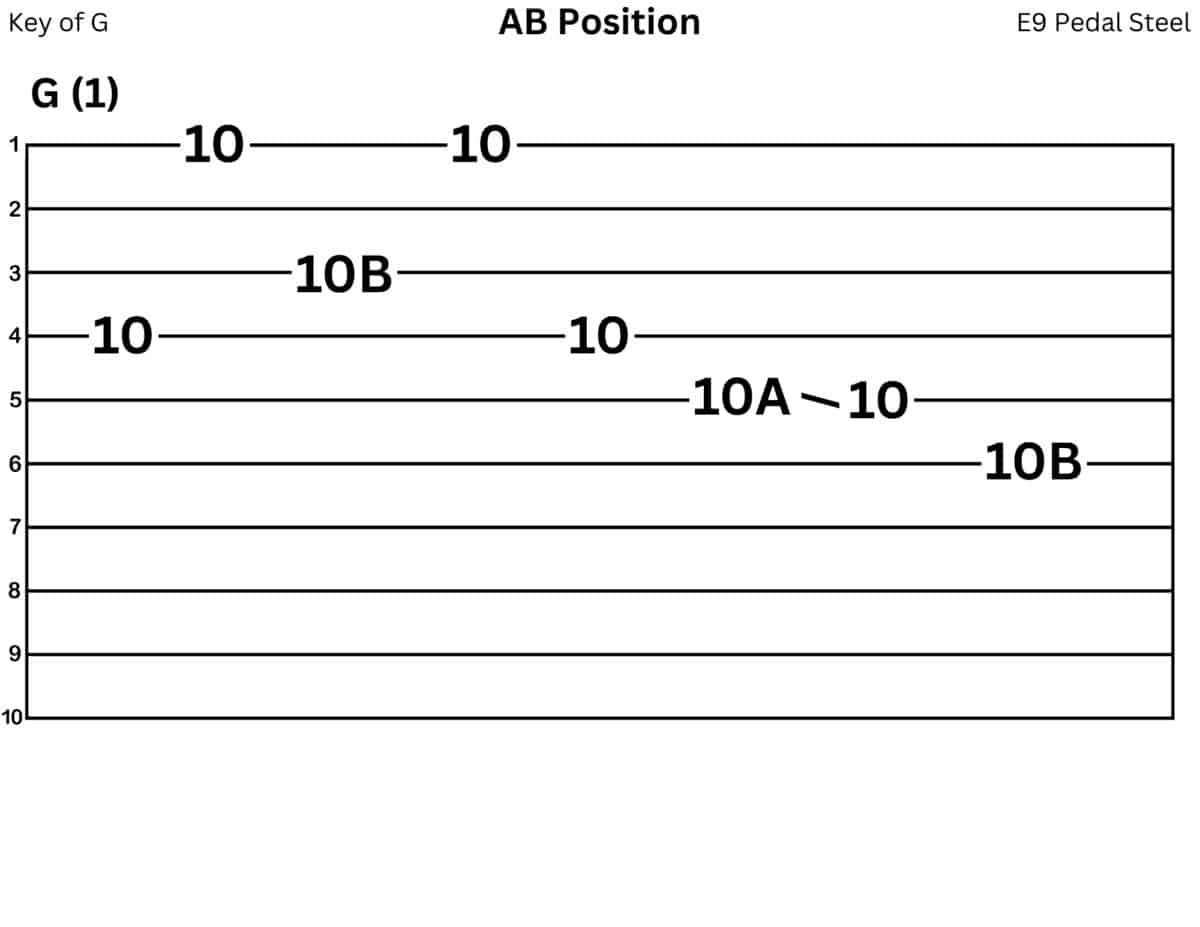
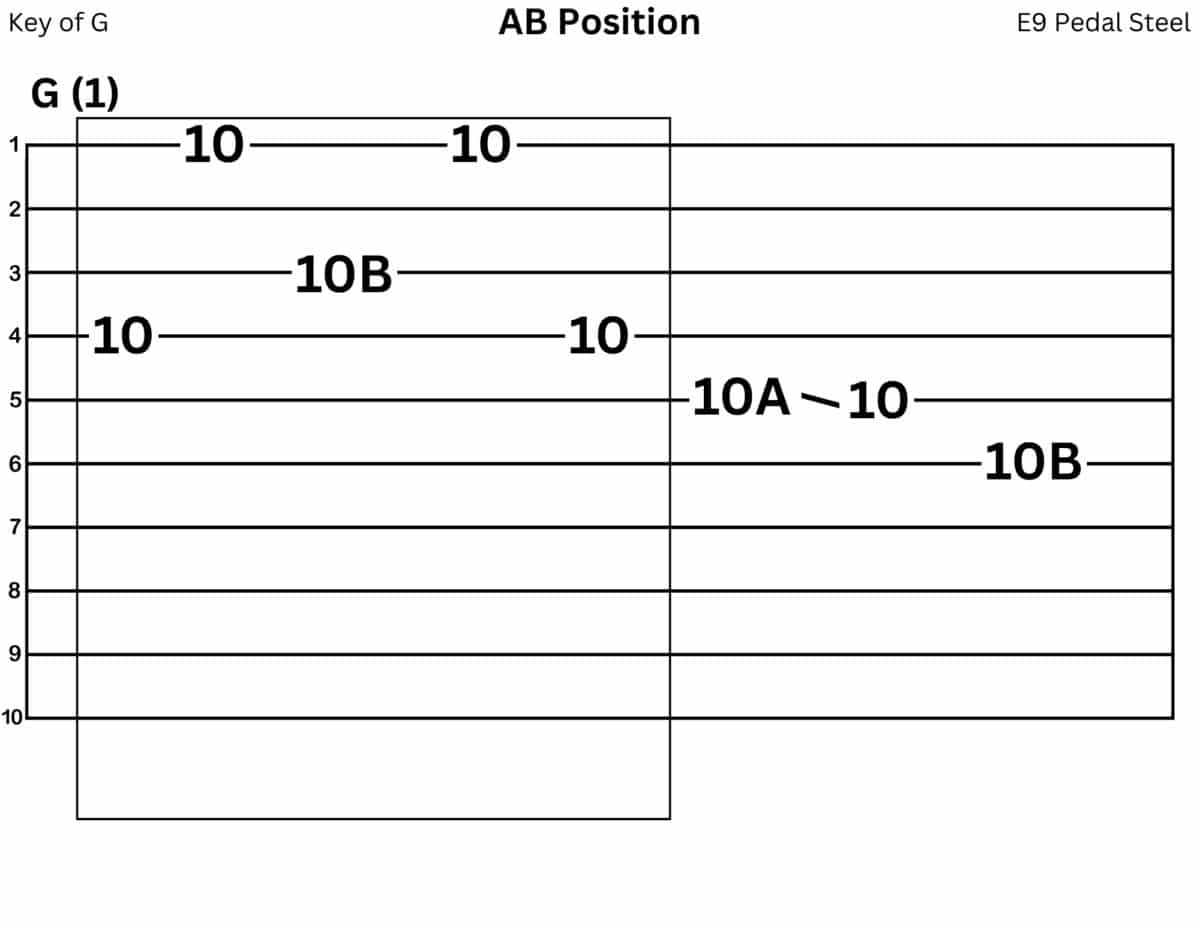
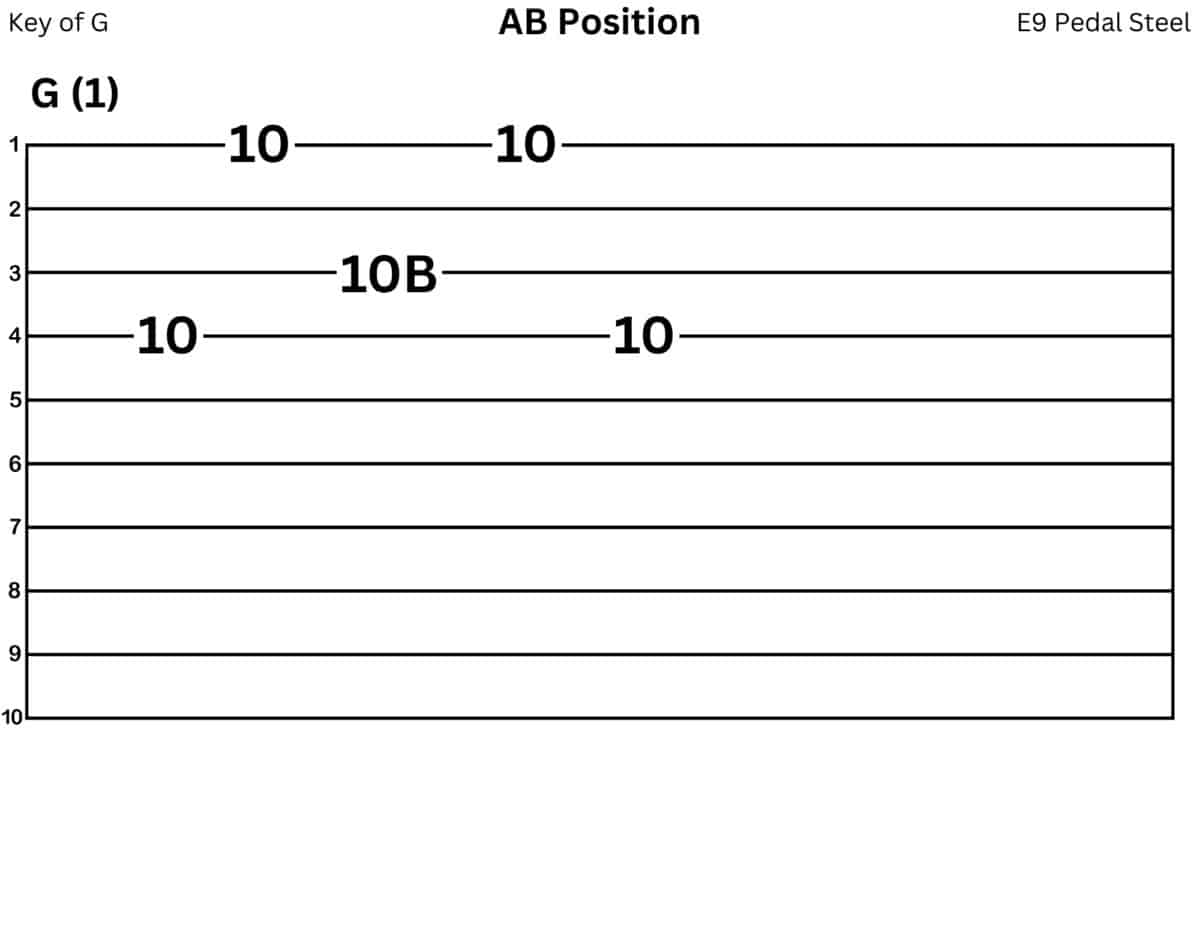
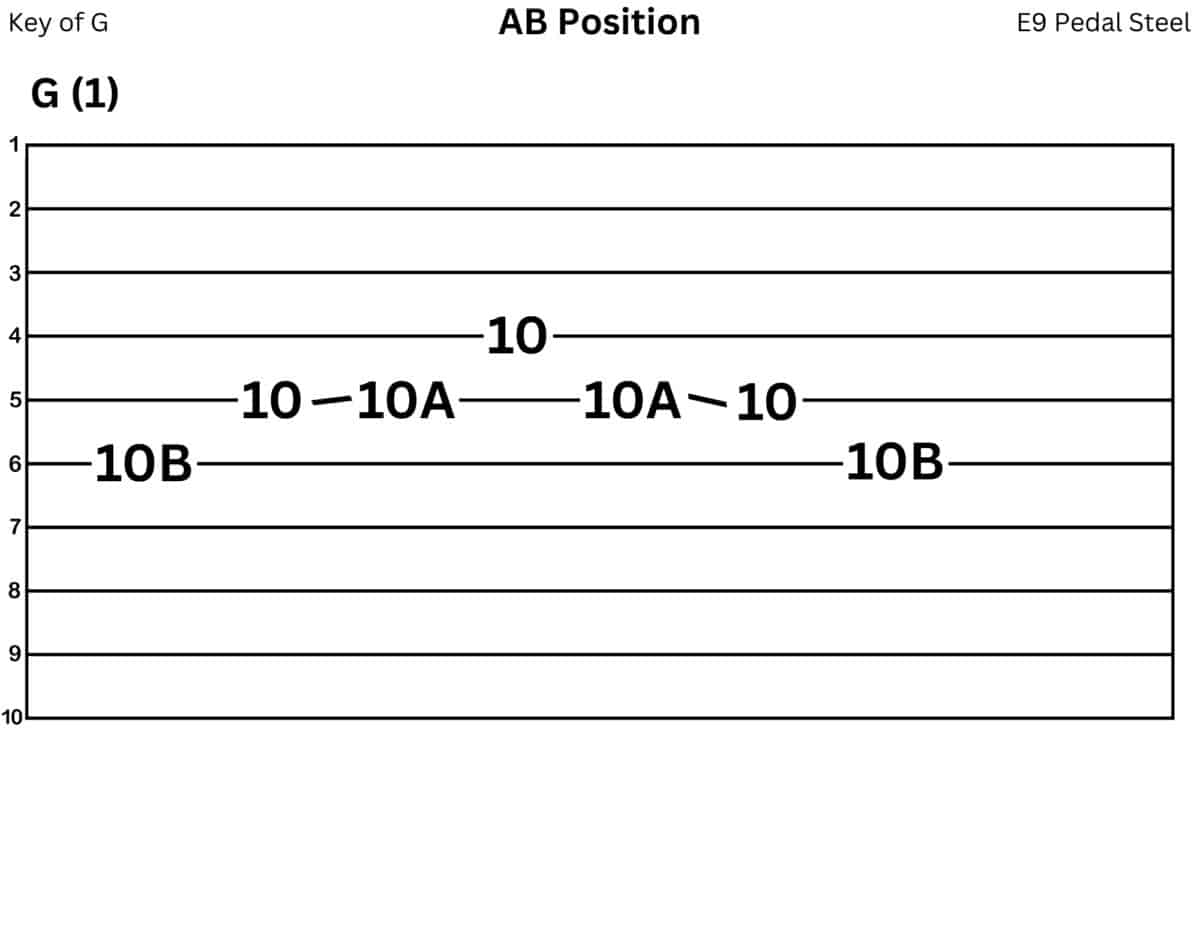
Moving to the AB Position
Next, take the same concept and move it to the AB position in the key of G:

Working through the same idea in multiple positions helps connect the fretboard and builds flexibility in your playing.
If you’re still getting comfortable with how these positions are organized, it’s worth reviewing how the main positions connect across the fretboard.
Turning Patterns Into Licks
Once the pattern starts to feel comfortable, it naturally turns into usable musical ideas.
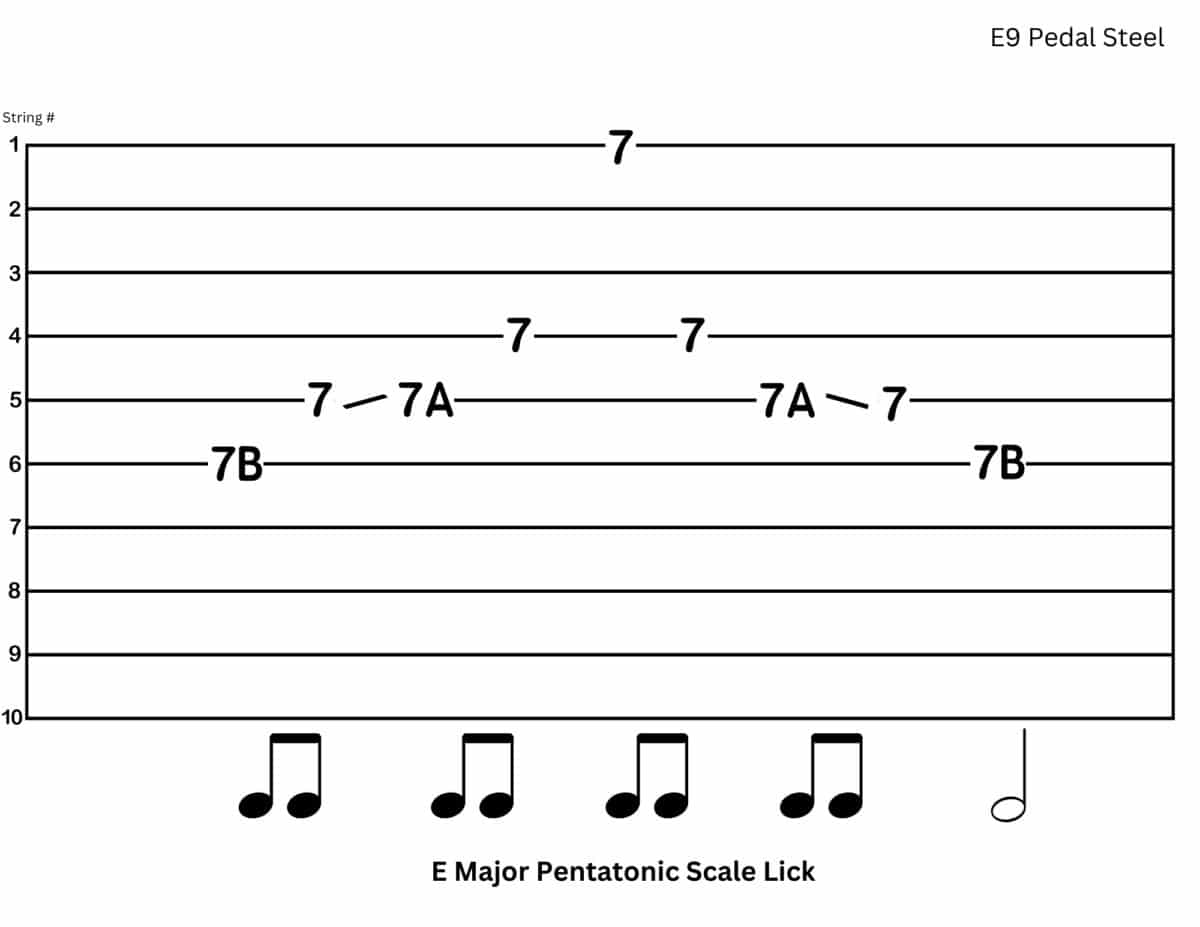
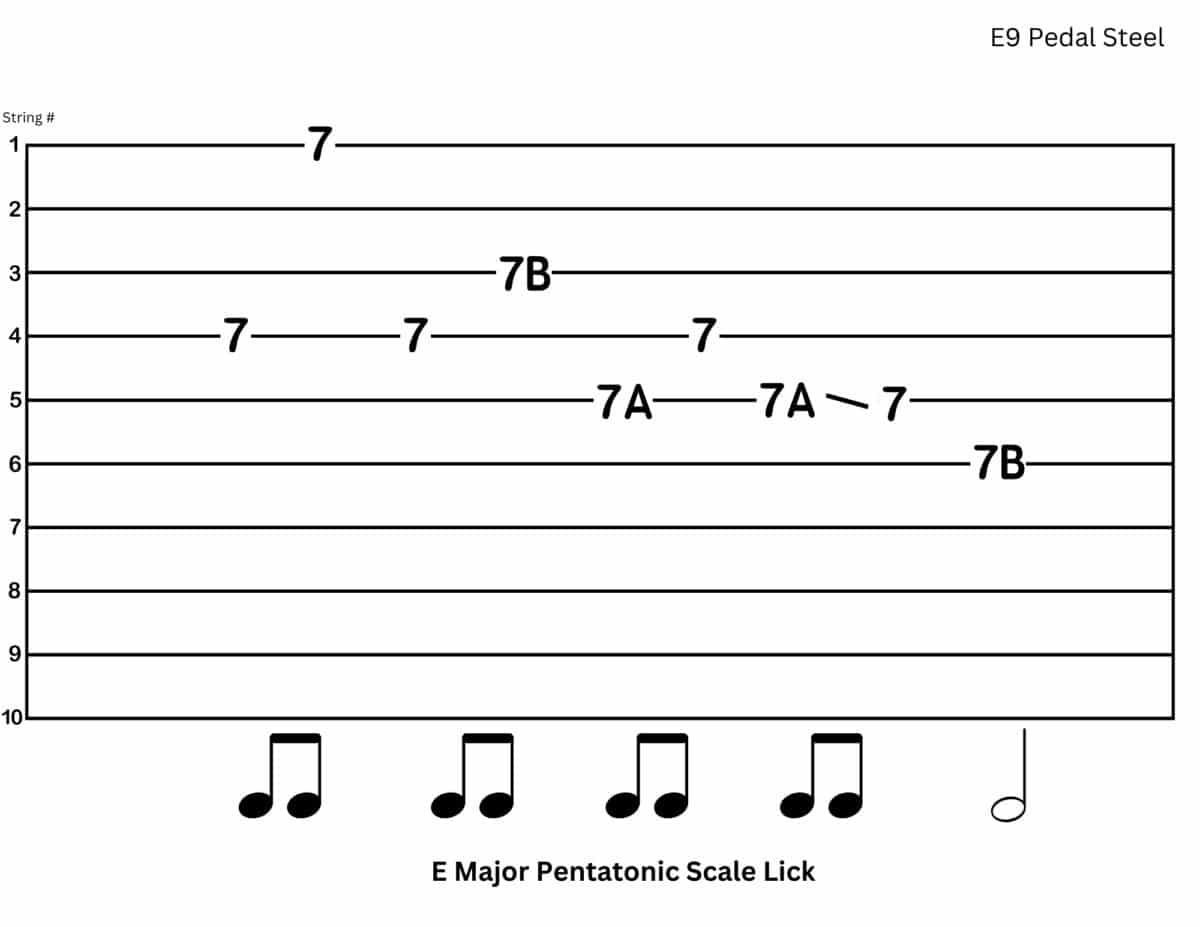
Here’s a lick based on the major pentatonic scale that uses the same core pattern:
If you look closely, the first half of the lick is the exact pattern you’ve already practiced.
That’s what makes it easier to learn—most of it is already familiar.
This kind of pattern-to-lick connection is a big part of how I approach teaching the instrument.
If you want a more structured way to work through these ideas across positions and real musical situations, the instructional books go much deeper into connecting everything step-by-step.
Breaking the Lick Into Parts
To make it even easier, you can split the lick into two smaller patterns:
Then combine them:
This approach—breaking things into smaller pieces—makes longer phrases much easier to learn and control.
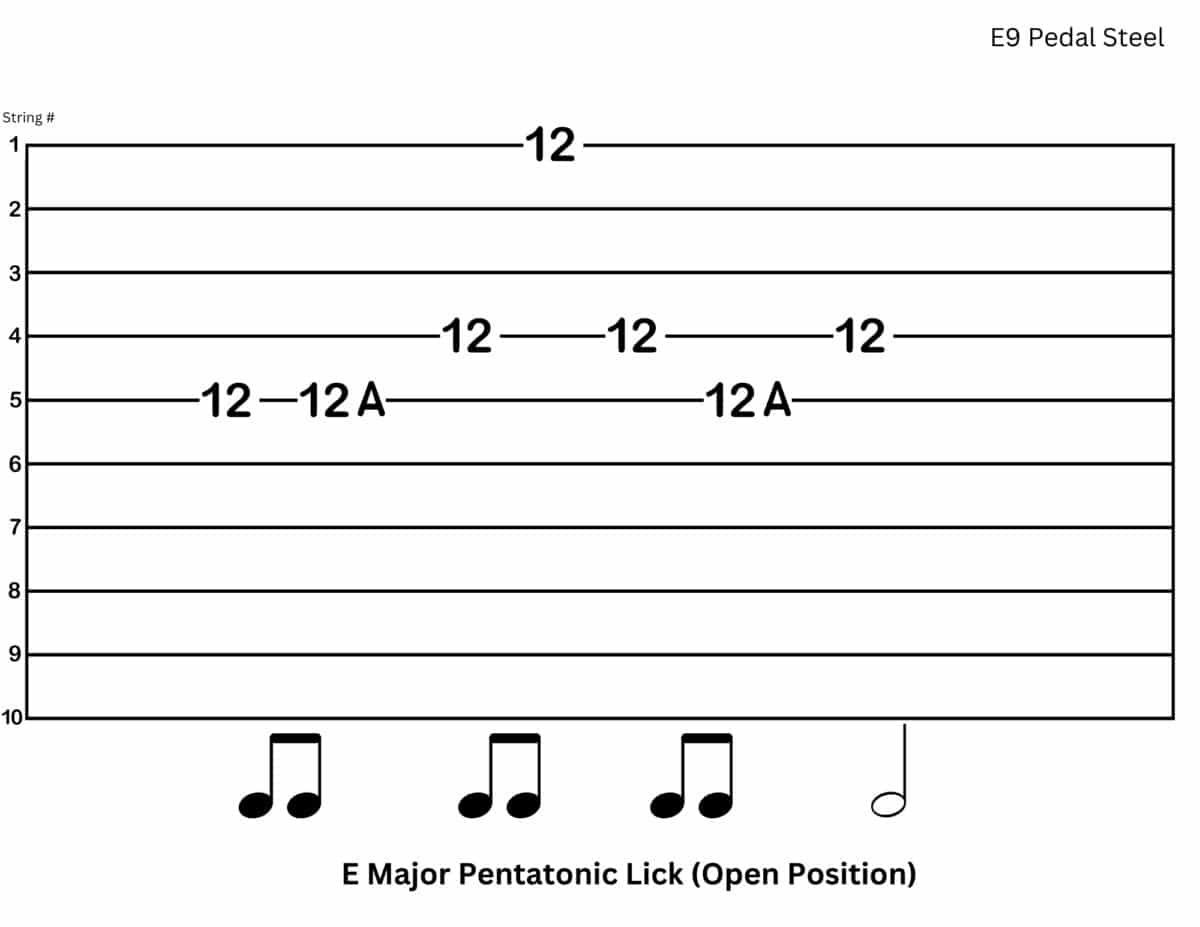
Expanding at the Open Position
You can also apply this same idea at the open position (3rd fret in the key of G).
By combining these patterns across chords, you can create simple pentatonic runs that work well over 1, 4, and 5 chords.
This kind of movement forms the backbone of a lot of E9 playing.
Expanding Into Other Keys
Now let’s move to the key of E to see how these ideas translate.
Pay attention to whether you’re in the open or AB position so you can move these ideas into other keys.

Try translating these back into the key of G so you can connect them to what you already practiced earlier.
This is where having a clear understanding of the fretboard starts to make everything easier to see and apply.
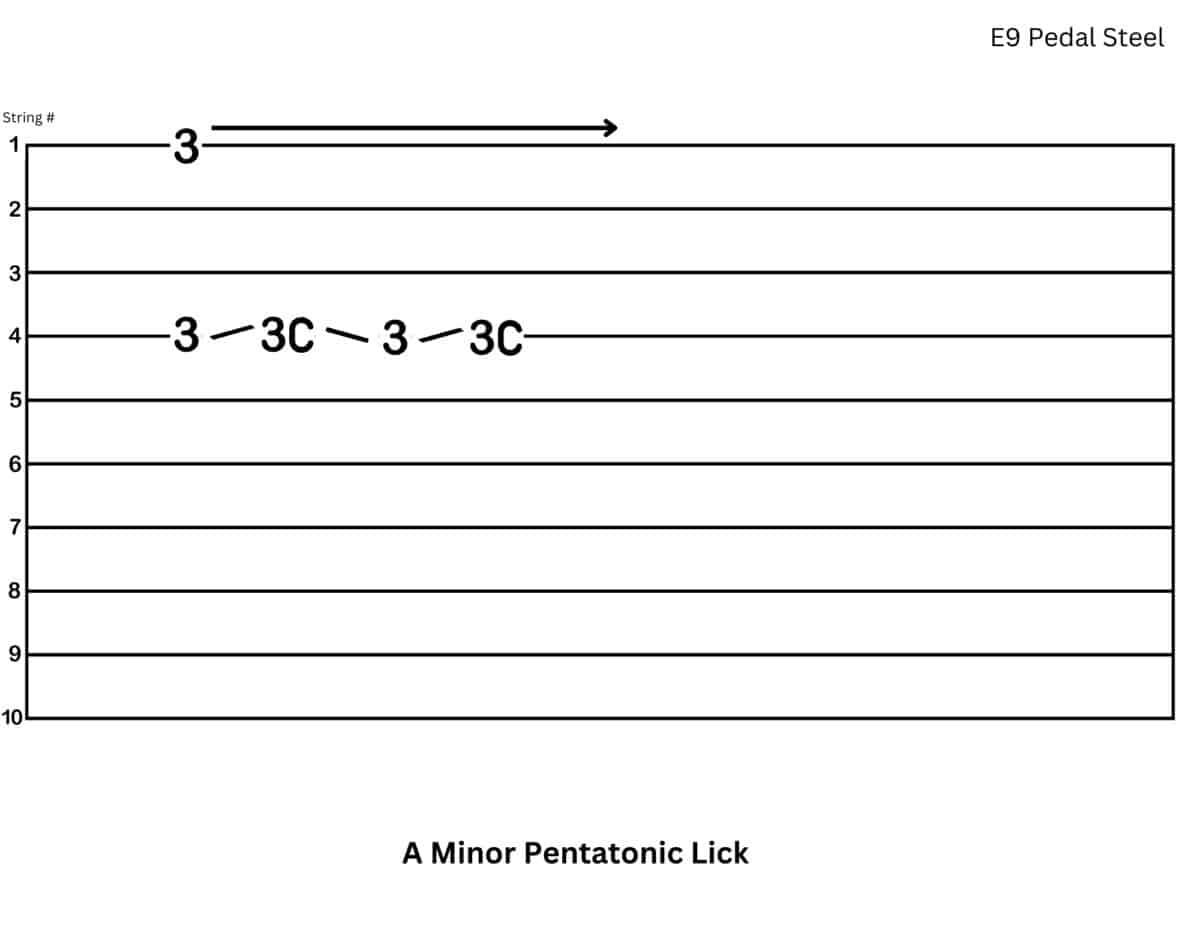
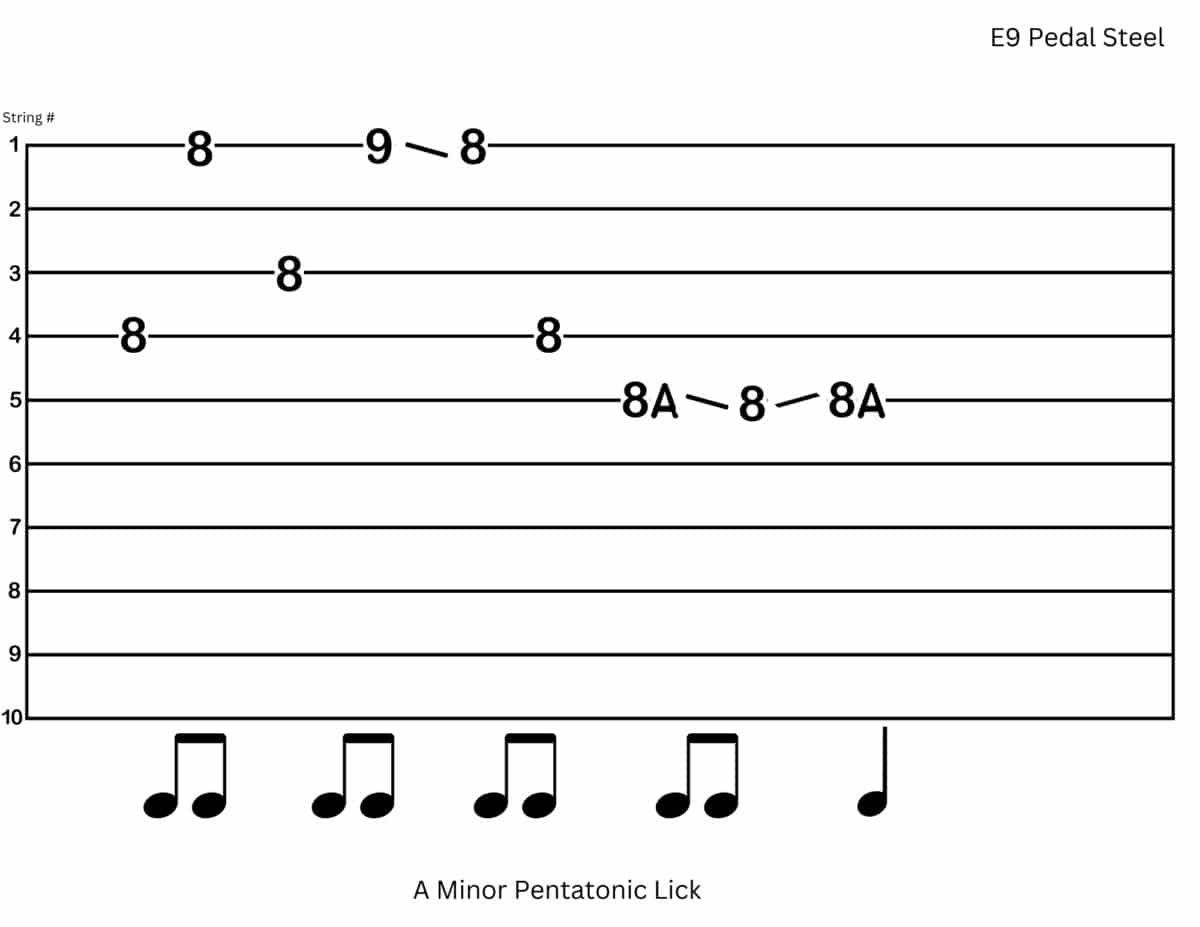
Using the 1st String in Minor Contexts
The 1st string is especially useful when playing over minor chords.
One important position uses the 7th string as the root:

For example:
- A major at 5th fret
→ A minor at 3rd fret
Using this position, the 1st string works well in:
- minor pentatonic ideas
- blues-style licks
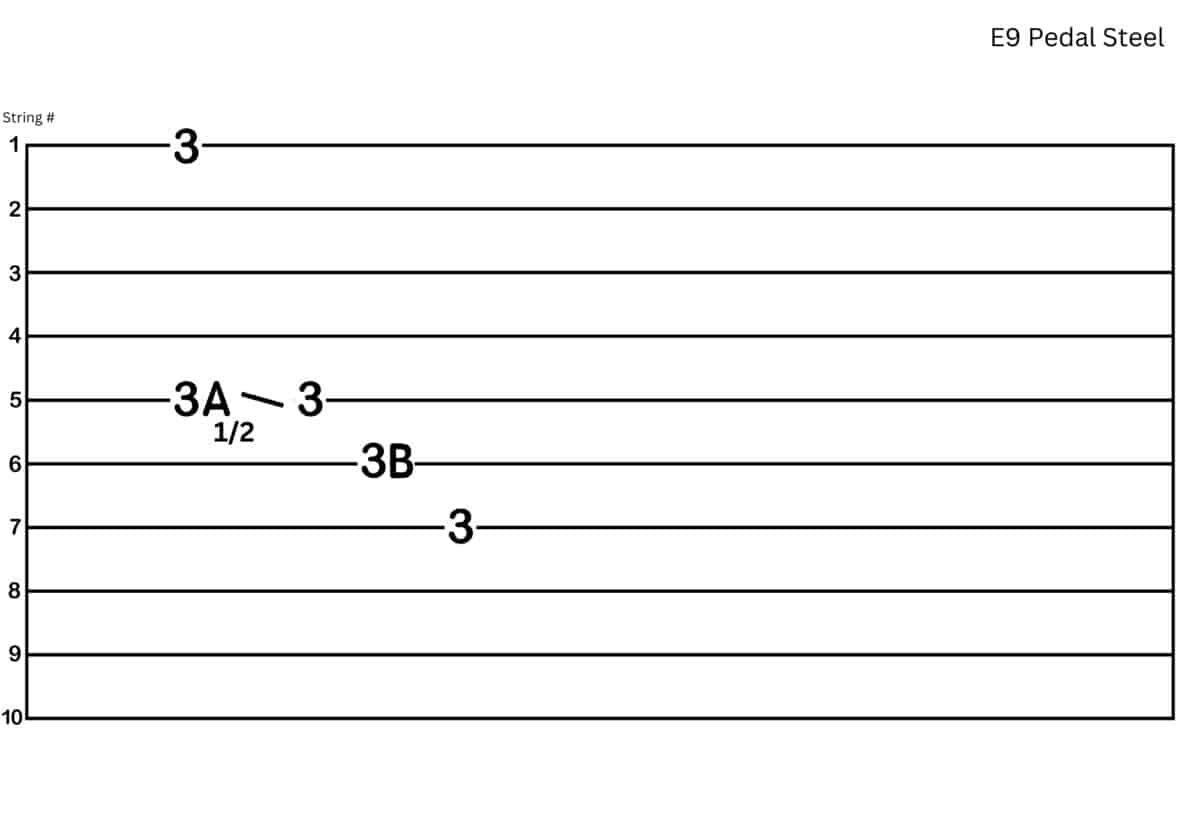
You can also use it at the open position for the relative minor:
Connecting Positions Across the Fretboard
The 1st string also helps connect positions using bar movement.
Here’s a descending lick in the key of A:
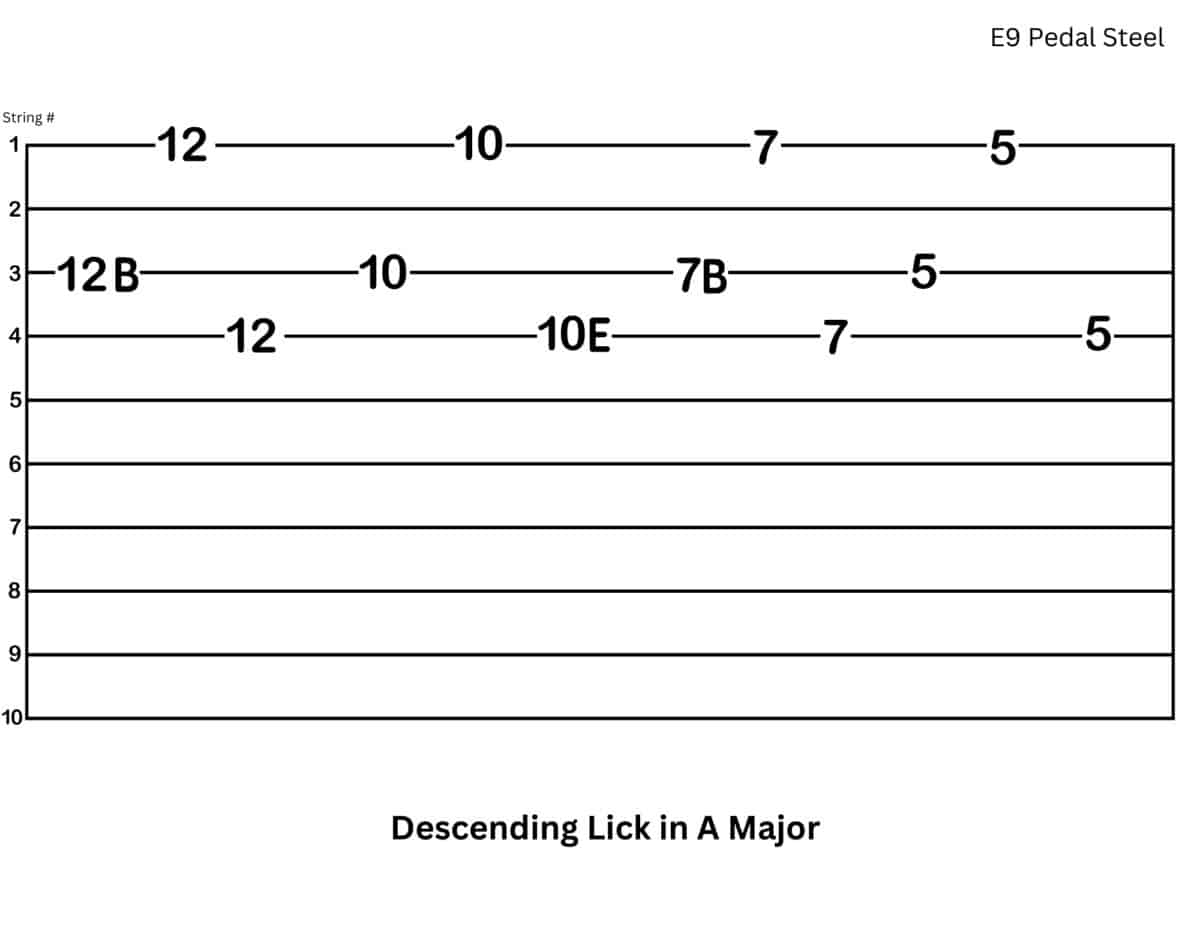
- upward
- downward
- across multiple octaves
Practicing ideas like this regularly is one of the most effective ways to connect positions and build consistency over time.
First Things First
There are many ways to use the 1st string, but these patterns show up often because they work and sound good.
The biggest challenge is the right-hand movement:
- skipping between strings
- maintaining clean blocking
- staying accurate at speed
This takes time, and that’s normal.
The patterns at the beginning of this article are worth returning to regularly—they build the foundation for everything else.
Over time, the 1st string becomes just as comfortable as any other string on the instrument.
Taking This Further
If these patterns are starting to make sense, the next step is being able to connect them across the fretboard and apply them in real musical situations.
That’s where most players get stuck—not because the ideas are too difficult, but because they don’t have a clear way of organizing them.
The instructional guides are designed to walk through this step-by-step, connecting technique, fretboard understanding, and musical application into one system.
If you’d rather work through this directly and apply it to your own playing, you can also reach out about one-on-one lessons.